Pages

Tuesday 27 September 2011

Birthday surprises!

It was Hubby's birthday this weekend, so I made cards from me and the cat (of course!!) Can you tell what his hobby is from the cards????????????? I've kept them simple and entered them in the Challenge at Allsorts

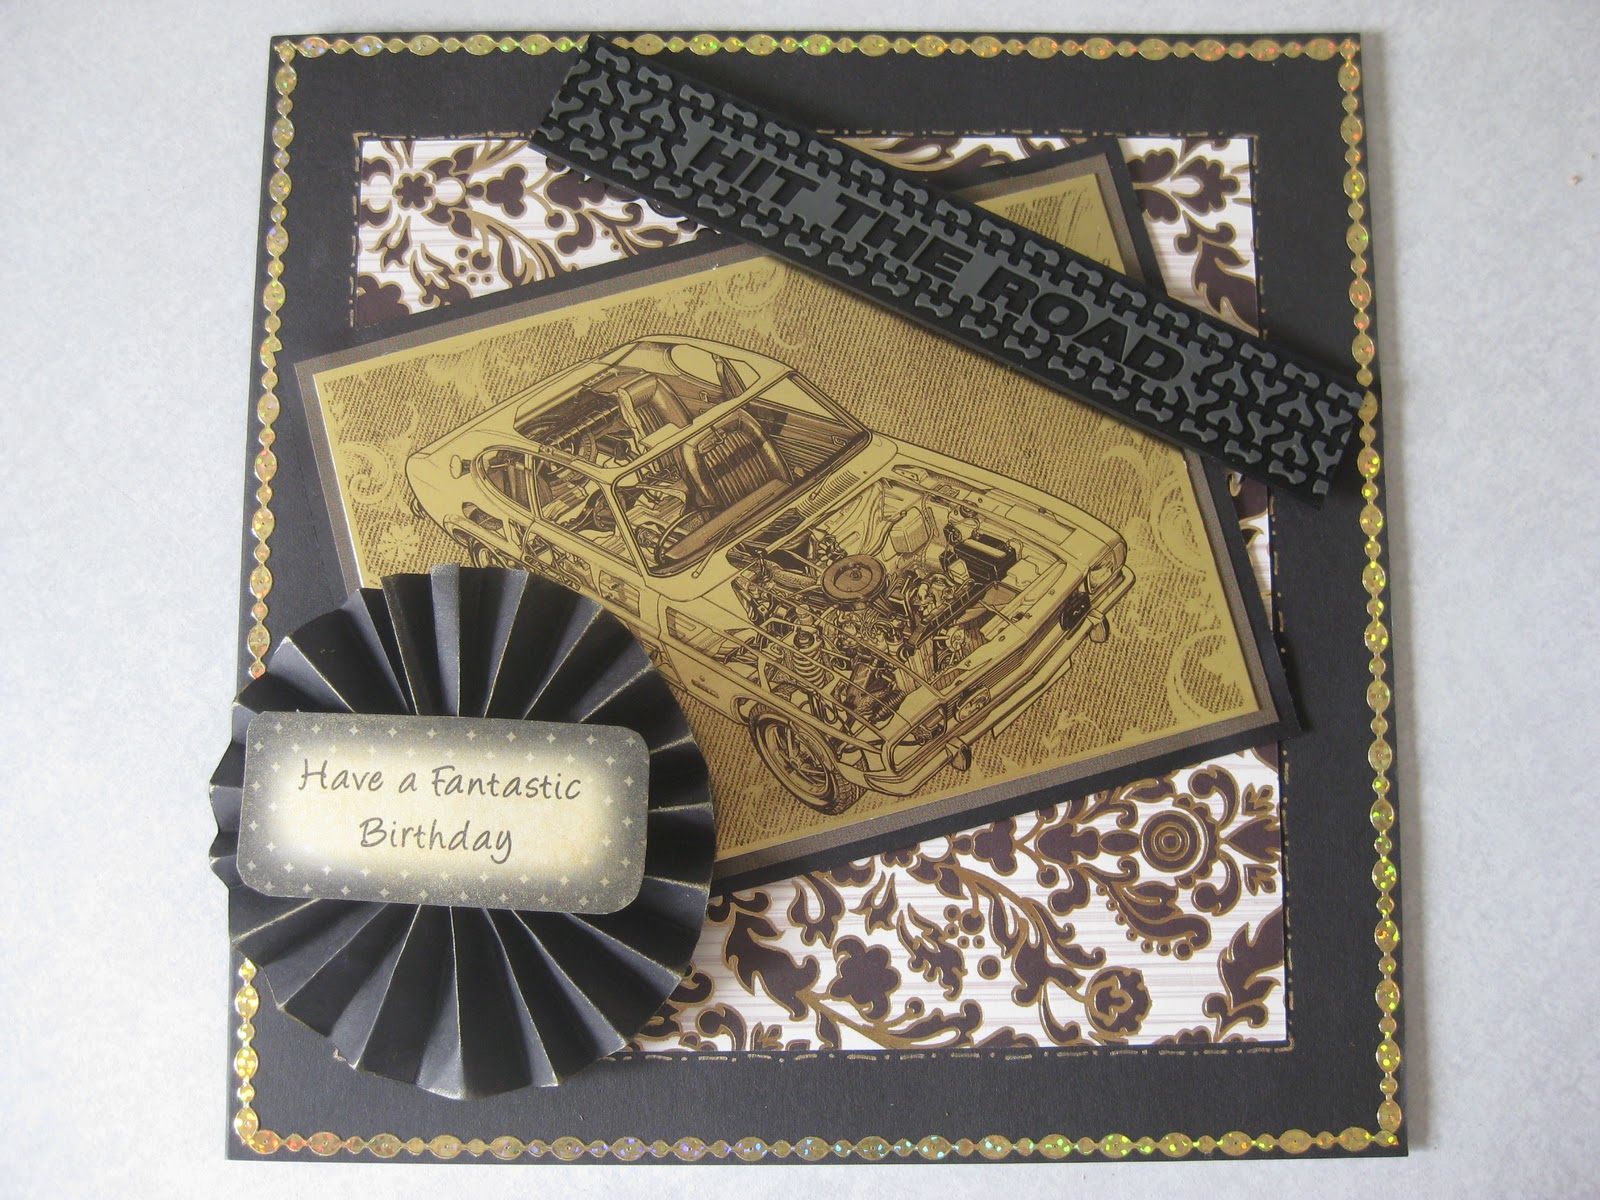
This one is a twisted stacker matted and layered on red card and silver mirri. The fabulous rubber tyre embellishment was a gift from a friend in the States, and I've just been itching to use it!
This black and gold creation was inspired by a Kanban topper I found at a show, based on an illustration from a Haynes Motor Manual - the car is a Capri, one of Hubby's earlier cars! Again, the rubber 'Hit the Road' embellishment was part of the stash from my friend Donna (thanks D!!!)

So on to the birthday surprise........


I wanted to do something different for Andy's birthday, and he loves American Muscle cars (he graduated from the Capri many years ago lol lol) He currently owns a Thunderbird which he uses every day, and until recently had a Firebird (think Knight Rider, if you're old enough to remember, but in white!) So I found this fantastic company that hires out classic American muscle cars by the day!  He's always lusted after a 1965 Mustang convertible, and you guessed it, they had one!!!


This is Andy standing next to the Mustang at the start of our day. We were very lucky and had a dry day, so we were able to put the top down for the day - got a bit chilly when the sun went in!!  I also found out that wearing lip gloss when you're hair is being whipped about in the wind is NOT a good idea - sticky hair and constantly peeling it off my lips - eeuk!!


We spent the day driving around Dorset and Somerset, down the coast to Lyme Regis (which was packed - did everybody take the day off yesterday and not tell me??). We met and overcame a range of obstacles on our quest for the perfect drive - ambulances flying out in front of us, learner drivers on single country lanes, lunatics racing on quad bikes, unexpected road closures and we finished up at a fantastic country pub in the middle of nowhere, where we ate ourselves stupid! Yummy!

Just about managed to stay awake for the long drive home, and fell into bed with a wind-burned face and hair tangled like I'd been through the proverbial hedge backwards, frontwards and sideways!  These movie stars who wore scarves when riding in convertibles knew a thing or two!

It was a great day out, and think Hubby was suitably surprised :-0

bye for now

Debs xx

Wednesday 21 September 2011

'Crafters Spread!' and WOYWW

My workdesk is looking messy - there's a surprise! You've heard of middle-aged spread - well I suffer from 'Crafter's spread'!  The natural law that says she (or he) who crafts will expand stash and workings to fill all available space - desk, table, floor, chair - you name it!pop on over to Sarah's blog to see more WOYWW pics of crafters desks tidy and not so much!!

Front and centre is a rosette that didn't quite work out, mainly cos I was too lazy to score before I pleated so the concertina layers got slightly bigger each time, so one side is ok, and the pleats get fatter as you go round the rosette LOL :-)

Top left of the picture are some brayered backrounds waiting to be stamped, and then centre left are some samples using my lovely new Stampscapes stamps.  Hubby bought these for my birthday and they are gorgeous! I have been playing with both brayering and using dusting brushes for the backgrounds and I was reallly pleased with the effects using duster brushes - much easier to control than the brayer - my brayering needs a little work! I am really pleased with the blue moonlit scene - love the colours. Will keep playing with those and will post some more pics soon.

Thanks for dropping by

Debs

Monday 19 September 2011

Bella Crafts - Distress Inks workshop Sat 17/9

We had a lovely time on Saturday morning, getting inky with Distress Inks! We scrunched, embossed, blended, bleached, masked, stamped and painted - whew!
We started with background paper techniques, these are some Christmassy ones (I couldn't resist!) The bottom sheet is taking the inkpad direct to paper to create a harlequin effect (seen in an earlier post) and the top sheet is scrunched, opened out then the inkpad lightly dragged across the surface, scrunched again and lightly drag a Versamark embossing pad over the new creases, then sprinkle with metallic powder and emboss - looks fab!


These two examples were made using masks, first dabbing the ink thru the mask, then inking the rest of the card, placing the mask over and spritzing, then lifting the water off with kitchen towel.

This makes a great background for overstamping, I particularly like the one on the bottom, the colours and masked areas work really well together.


OK, that's it for tonight, more crafty fun soon!

Monday 12 September 2011

Embossed cards

 So I've been playing with ideas for embossing - and had fun with this one using a brayer and a Big n Juicy ink pad. the background is stamped with leaves using the Big n Juicy pad, and the main panel is glossy card stock stamped and embossed and then brayered.  I stamped & embossed a few extra leaves and cut them out to use as embellishments.


The 2 Christmas cards are an attempt to combine my love of distress inks with embossing! I think they turned out pretty good. I used Walnut stain and embossed the images with clear embossing powder, then shaded the edges with distress ink, and coloured Santa's hat with a red pro-marker for a spot of colour - what do you think?


happy crafting!

Deb x

Friday 2 September 2011

Distress Inks Techniques class 310811

We had a full house for the class this week - everyone is back from holidays and raring to go!  We covered so much ground we ended up running over time but no-one wanted to go home, as everyone wanted to finish up their projects.
These are some of the papers and images we created. At the top of the pic is a scrunched, inked & embossed background paper. Below that we have 2 variations on stamped backgrounds, 1 using the Distress pads direct to paper to create a harlequin effect and the other stamped in 2 colours.

You might recognise the bleached snowman stamp from an earlier post! And finally, bottom right, we finished up with how to blend and use different layers to create depth and perspective in a scene.

Everyone seemed to enjoy the class, and went away with lots of new ideas ready to try them at home. We just ran out of time as I still had a couple of other techniques to show!  Always the way!

Today the sun is shining, and I am working on a project using heat embossing - why is it I always end up using heat on hot days????

Also, got some lovely craft pressies for my birthday last week - Hubby bought me some amazing Stampscapes stamps that I have been lusting after for some time :-) If you've never seen these stamps, check out the website Stampscapes - hopefully I will get a chance to play with them soon and then I will post some pics.

OK, off to emboss! Thanks for dropping by.

Deb x